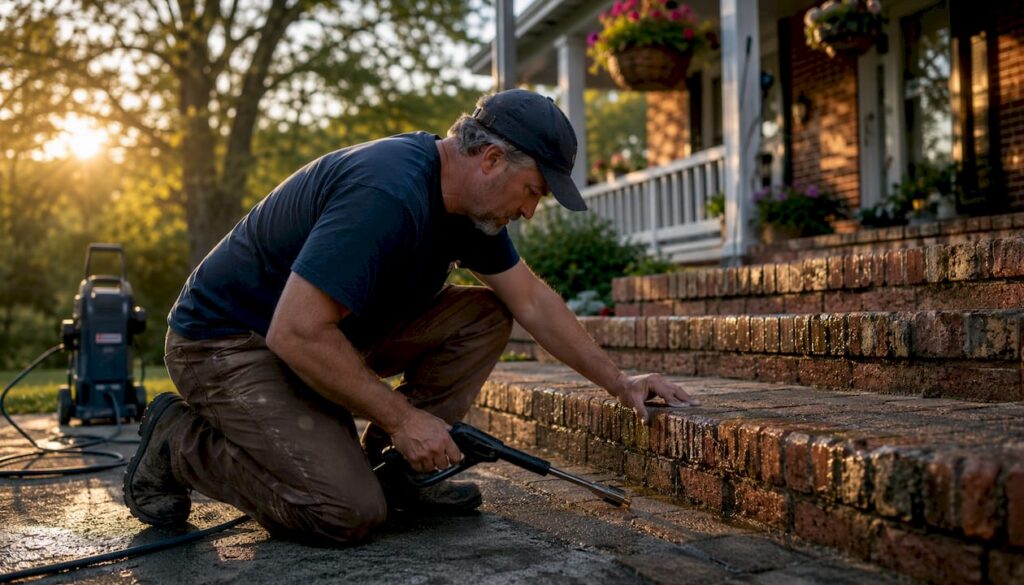
Pressure washing your home exterior steps is one of the fastest ways to strip away grime, mold, and algae buildup efficiently. Beginners should start at 1,000–1,500 PSI to avoid damage, with 1,500–2,000 PSI suitable for most concrete steps. Pair that with a 25-degree green nozzle for general cleaning, and you’ve already made the two decisions that matter most. Before you pull the trigger, put on closed-toe non-slip shoes, safety goggles, and gloves. Keep the nozzle moving at all times and maintain at least 12 inches of distance from the surface.
Here’s the core process at a glance:
- Prepare: Inspect steps for cracks, clear the area, and cover nearby plants and furniture
- Pre-treat: Apply a mild detergent and let it dwell for 10–20 minutes
- Wash: Use sweeping, overlapping strokes from top to bottom
- Rinse: Switch to a 40-degree white nozzle and flush thoroughly
- Maintain: Let steps dry completely, then consider sealing
How should you prepare your home exterior steps before pressure washing?
Good preparation is what separates a clean result from a damaged one. Start by walking the steps and looking closely for cracks, chips, or loose sections. Pressure washing forces water into any opening, so patch small cracks with a concrete patching compound before you do anything else. Larger structural damage may need a professional repair, and some patching products take up to a week to cure fully.
Once the surface is sound, clear everything off and away from the steps. Move planters, furniture, doormats, and any decor. Cover nearby shrubs and flower beds with plastic sheeting or drop cloths, and wet down plants thoroughly before you begin, since cleaning solutions can harm vegetation even when diluted. Close all windows and doors near the work area, and tape plastic sheeting over any electrical outlets, light fixtures, or air conditioning units within spray range.
Gather your equipment before you start:
- Pressure washer with adjustable PSI settings (electric models work well for most residential jobs)
- 25-degree green nozzle and 40-degree white nozzle
- Garden hose with full water flow
- Mild detergent or a concrete-specific cleaner
- Safety goggles, gloves, and non-slip closed-toe shoes
- Stiff-bristled scrub brush for corners and crevices
- Drop cloths or plastic sheeting
Pre-treatment steps for heavy stains:
- Sweep loose debris off the steps with a stiff broom, working from top to bottom.
- Wet the entire surface with a garden hose.
- Apply a mild detergent or concrete cleaner to stained areas.
- Let the solution dwell for 10–20 minutes to break down grime before washing.
- Use a scrub brush on corners, edges, and crevices that the wand may not reach well.
Pro Tip: Check your pressure washer’s hose for cracks or kinks and inspect the O-rings on all connections before you start. A five-minute equipment check prevents mid-job failures.
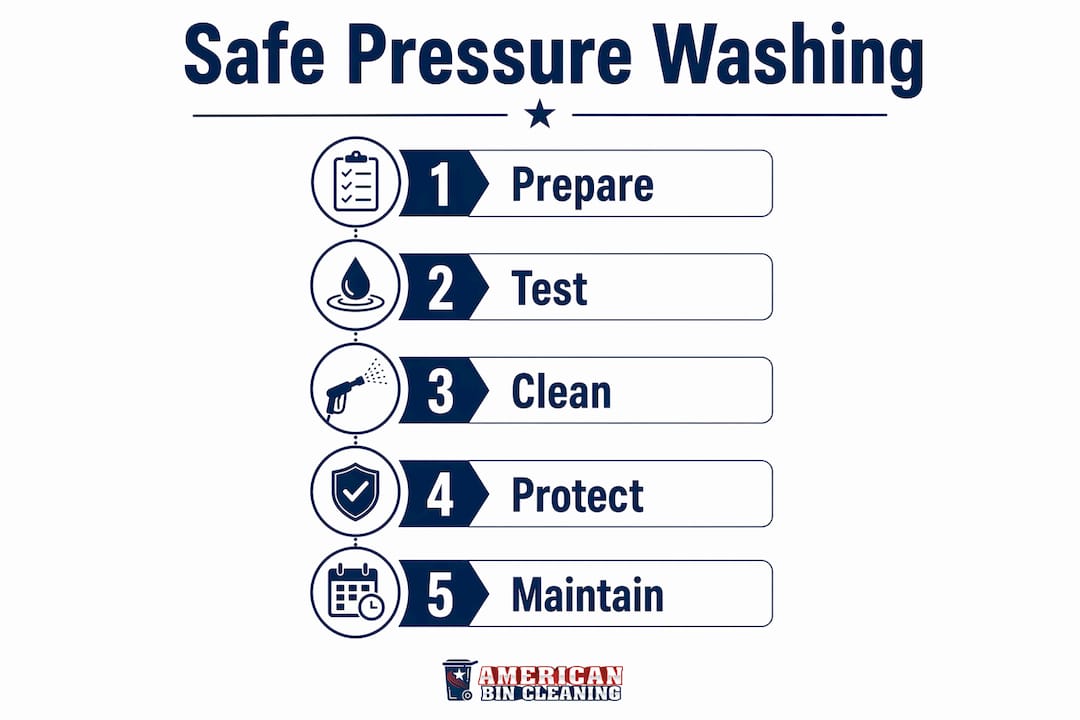
Step-by-step pressure washing process for exterior home steps
With the area prepped and your equipment ready, you can move through the actual wash in a logical sequence. Rushing any step tends to leave streaks or force you to repeat the whole job.
-
Wet the surface. Run the pressure washer on its lowest setting and wet down the entire step surface. This loosens surface dirt and helps the cleaning solution spread evenly.
-
Apply your cleaning solution. Using the soap injector or a garden sprayer, coat the steps with your chosen detergent. Work from top to bottom so the solution runs down naturally. Let it sit for 10–15 minutes without letting it dry completely.
-
Attach the 25-degree green nozzle. This is your workhorse nozzle for general cleaning on concrete, brick, or stone. If you’re working on wood steps, consider starting with the 40-degree white nozzle and a lower PSI to avoid raising the grain.
-
Position yourself correctly. Hold the wand 12–18 inches from the surface and angle it slightly downward. Never point it straight into a joint or seam.
-
Wash in sweeping, overlapping strokes. Move the wand horizontally across each step, overlapping each pass by about 30%. Start at the top step and work your way down so dirty runoff doesn’t contaminate steps you’ve already cleaned.
-
Adjust pressure for the material. Concrete handles 1,500–2,000 PSI well. Stone surfaces and older concrete may need you to back off to 1,000–1,500 PSI. Wood steps generally stay safer at the lower end of that range with a wider nozzle.
-
Rinse thoroughly. Switch to the 40-degree white nozzle and rinse from top to bottom, flushing away all detergent residue. Soap left on the surface attracts dirt quickly and can make steps slippery.
-
Repeat if needed. Heavily soiled steps or stubborn mold patches may need a second application of cleaner and another pass with the wand.
Pro Tip: Never hold the nozzle stationary in one spot. Even a second or two of fixed pressure can etch concrete or gouge wood. Keep the wand moving at a consistent pace throughout.
What safety rules should you follow when pressure washing steps?
A pressure washer is not a garden hose. The high-pressure stream can cut skin, shatter glass, and strip paint in seconds. Treating it with that level of respect keeps the job safe.
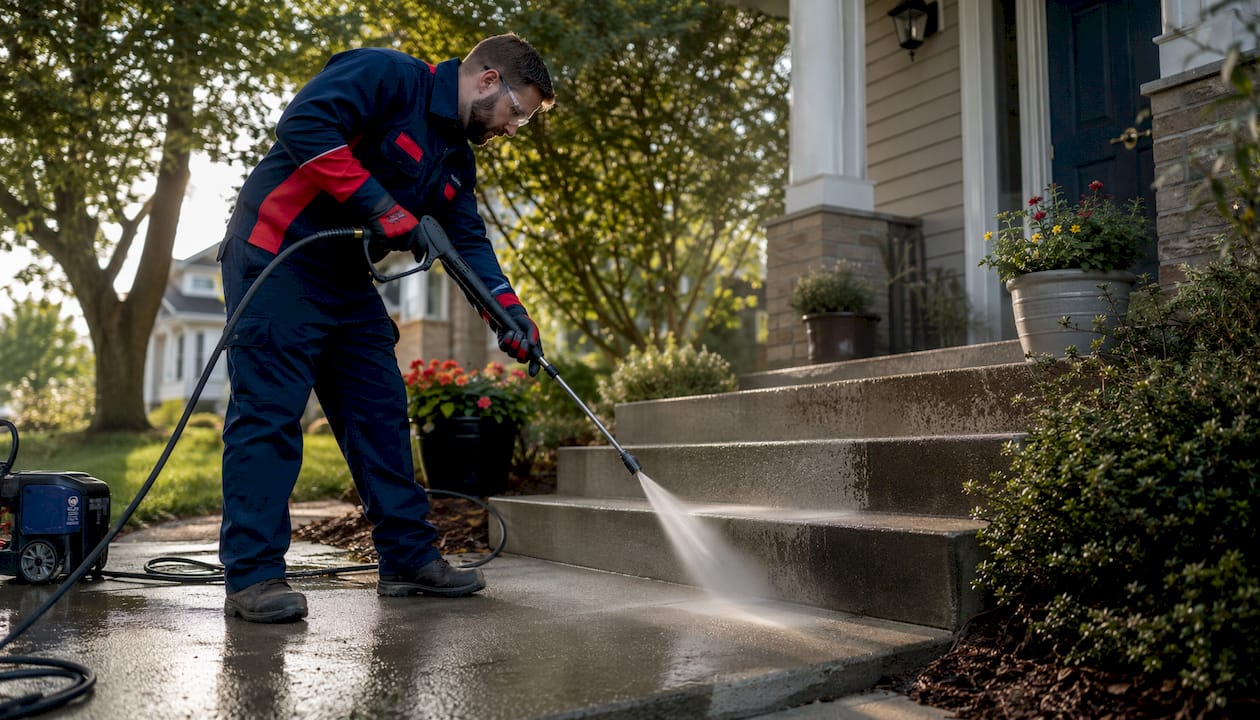
Wear your full protective gear every time: safety goggles, gloves, and non-slip closed-toe shoes. Wet steps are slippery, and the spray recoil from the wand can throw you off balance unexpectedly. Never operate the washer while standing on a ladder. Recoil from the spray can knock you off a ladder before you have time to react. Professionals use scaffolding or extension wands for elevated areas instead.
Common safety mistakes to avoid:
- Pointing the nozzle at people, pets, or yourself, even briefly
- Using a 0-degree red nozzle on home steps (it concentrates pressure into a pinpoint stream that damages nearly any surface)
- Letting the nozzle hover in one spot while you adjust your grip or look away
- Working in wet or icy conditions where footing is already compromised
- Skipping eye protection because “it’s just water”
- Standing directly behind the spray path when someone else is operating the washer
Always test your pressure setting on a small, hidden area of the steps before cleaning the full surface. If you see etching or discoloration, back off the PSI or increase your nozzle distance before continuing. Review a full pressure washing checklist before your first DIY session to make sure nothing gets missed.
How do you protect your steps after pressure washing?
The work isn’t done when the water stops. What you do in the 24–48 hours after washing determines how long the results last.
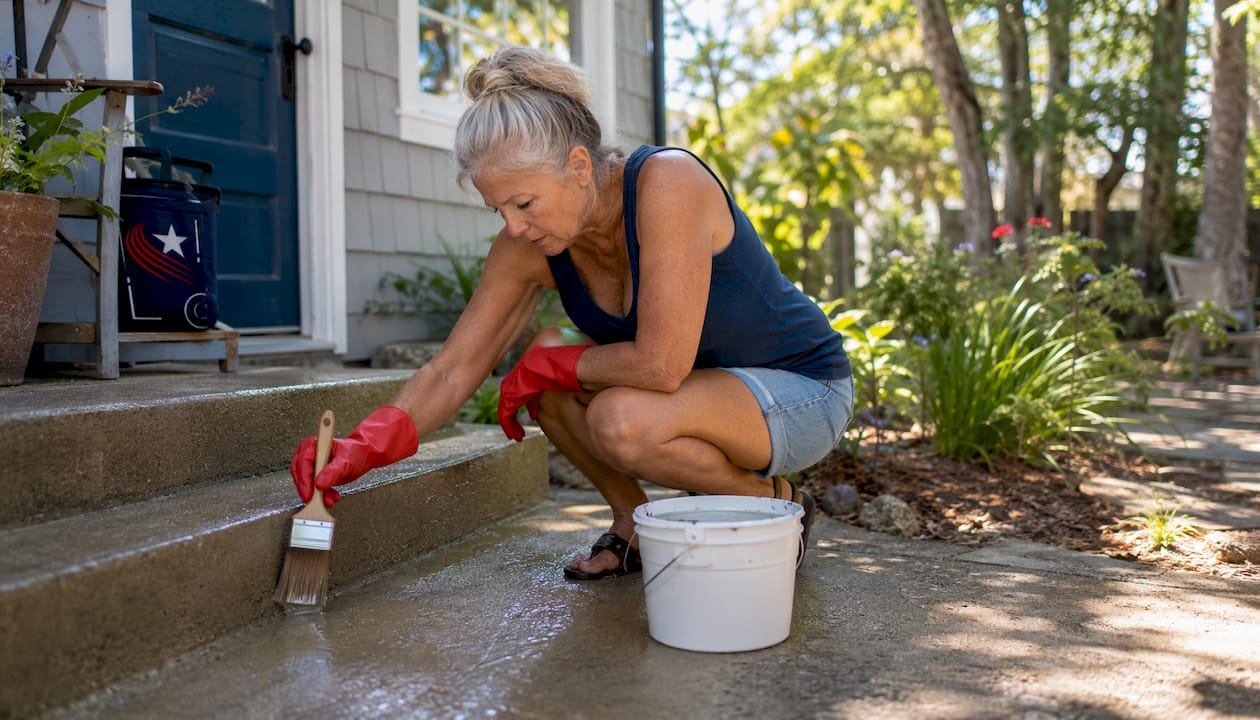
Let the steps dry completely before walking on them or applying any product. Concrete typically needs at least 24 hours; wood may need 48 hours depending on humidity and temperature. Rushing this step and sealing over damp concrete traps moisture underneath, which leads to cracking and surface failure over time.
Post-wash maintenance options by material:
- Concrete: Apply a concrete sealer after the surface is fully dry to protect against moisture, UV damage, and future staining. This extends the life of the steps and keeps them cleaner between washes.
- Wood: Apply a fresh coat of exterior wood stain or sealant to protect against moisture absorption and UV fading. Sand any raised grain lightly before applying.
- Stone or brick: A penetrating masonry sealer works well for natural stone. Avoid film-forming sealers on rough stone, as they tend to peel.
Pro Tip: Seal in dry weather when temperatures are between 50°F and 90°F. Sealing in direct sun or high humidity causes the product to cure unevenly and can leave a cloudy or streaky finish.
For ongoing maintenance, sweep steps weekly and rinse them with a garden hose monthly. A quick rinse prevents the grime buildup that makes pressure washing necessary in the first place. Most homeowners find that pressure washing steps once or twice a year keeps them looking clean and safe year-round.
Professional insights and eco-friendly pressure washing practices
The biggest mistake DIY homeowners make is reaching for more pressure when a surface isn’t coming clean. Most soil removal actually comes from the cleaning solution, not the pressure itself. Letting a good detergent dwell for the full 10–20 minutes does more work than cranking the PSI ever will, and it protects the surface in the process.
Eco-friendly pressure washing means using biodegradable cleaners, capturing wastewater so it doesn’t run into storm drains, and choosing the lowest effective pressure for the job. These practices protect your landscaping, your local waterways, and the surface you’re cleaning. Abcbins captures all wastewater in an on-board recycling system on every job, so nothing runs off into the environment.
Biodegradable, plant-safe detergents are widely available and work just as well as harsher chemical options for most residential cleaning jobs. Wet down surrounding plants before you start, and rinse them again after you’re done. For pressure washing stone surfaces, a soft-wash approach using lower PSI and longer dwell time is often more effective than high pressure, and it eliminates the risk of etching or pitting the surface.
Abcbins has been providing eco-friendly pressure washing services throughout Chicagoland since 1989, handling driveways, home exteriors, decks, and storefronts with the same wastewater-capture system on every job. Understanding the properties of your specific surface material, whether concrete, wood, or stone, determines which pressure and cleaning agent combination will clean effectively without causing damage. That judgment comes with experience, and it’s the core reason professional results tend to outlast DIY ones.
Pro Tip: If you’re pressure washing a rural or semi-rural home where runoff drains toward a yard, garden, or natural area, use only certified biodegradable cleaners and pre-wet all vegetation. The runoff from standard degreasers can damage grass and kill plants within hours.
Key Takeaways
Effective pressure washing of exterior home steps combines the right PSI, proper nozzle selection, thorough preparation, and post-wash sealing to clean safely without damaging the surface.
| Point | Details |
|---|---|
| Start with the right PSI | Beginners should start at 1,000–1,500 PSI; most concrete steps clean well at 1,500–2,000 PSI. |
| Choose the correct nozzle | Use a 25-degree green nozzle for general cleaning; switch to a 40-degree white nozzle for rinsing and delicate surfaces. |
| Pre-treat before washing | Let a mild detergent dwell for 10–20 minutes to break down grime before applying pressure. |
| Keep the wand moving | Maintain 12–18 inches of distance and use sweeping strokes; holding the nozzle still etches or gouges the surface. |
| Seal after drying | Apply a concrete sealer or wood stain after the surface dries fully to protect against moisture, UV damage, and future staining. |