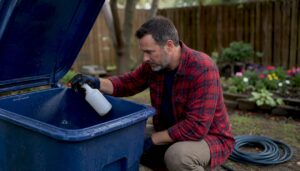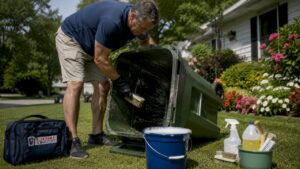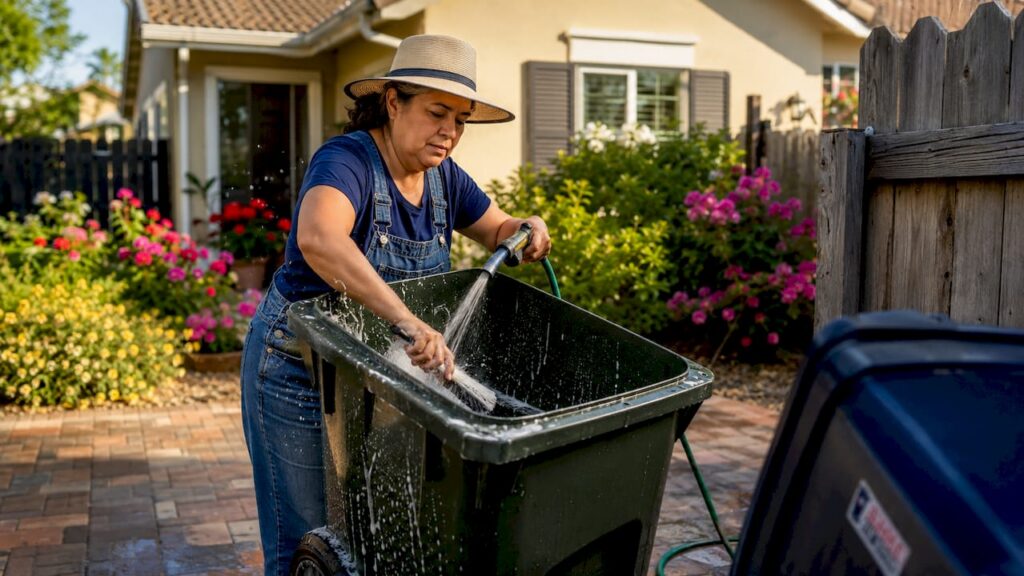
Clean garbage bins are one of the fastest ways to improve your home’s exterior appearance and eliminate odors at the source. Most homeowners focus on landscaping, paint, and lighting when thinking about curb appeal tips, but dirty, smelly trash cans sitting in plain view undo all of that effort. The good news is that a consistent trash bin maintenance routine takes less than 30 minutes a month and delivers results you can see and smell immediately. This guide covers everything from the right tools to smart storage, so you can keep garbage bins clean for curb appeal without making it a chore.
What tools do you need to clean garbage bins effectively?
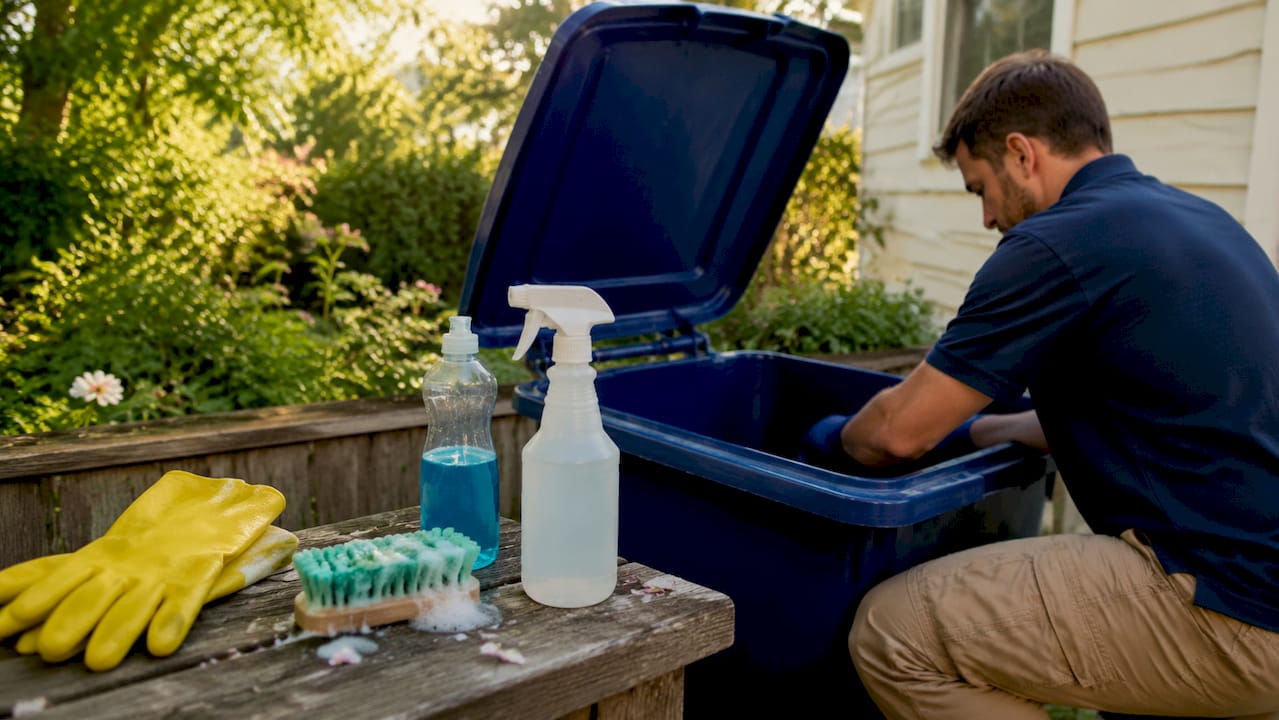
The right supplies make cleaning garbage bins faster and more thorough. Gathering everything before you start means you won’t stop halfway through because you’re missing something.
The core toolkit:
- Garden hose with a spray nozzle. Pressure matters. A strong spray dislodges loose debris before you start scrubbing.
- Long-handled scrub brush or stiff broom. You need reach to clean the bottom and sides without putting your hands deep inside the bin.
- Rubber gloves. Bin residue carries bacteria. Protect your hands every time.
- Dish soap. A grease-cutting dish soap like Dawn breaks down food residue and grease film effectively.
- White vinegar or baking soda. Both are natural deodorizers. Baking soda absorbs moisture and odors inside the bin between cleanings.
- Disinfectant spray or a bleach solution. For a deeper sanitizing step after scrubbing.
Optional but useful:
- Eucalyptus oil or another essential oil for a natural fresh scent after cleaning
- A second brush specifically for the lid underside and rim
- A tarp or driveway mat to contain runoff during cleaning
Pro Tip: Fill the bin with a few inches of hot water and a squirt of dish soap before you start scrubbing. Let it soak for five minutes. The soak loosens stuck-on residue and cuts your scrubbing time in half.
Safety note: never mix bleach and vinegar. Use one or the other as your disinfectant, not both together.
How to clean garbage bins step by step
A thorough cleaning routine follows a clear sequence. Skipping steps, especially drying, is the most common reason bins smell again within days.
-
Empty the bin completely. Empty bins right after pickup before any residue has time to dry and harden. Shake out loose debris and remove any bag remnants.
-
Rinse with the hose. Spray the inside from top to bottom. This removes loose grime and softens stuck residue before soap touches it.
-
Add soap and soak. Pour a generous amount of dish soap into the bin, then fill the bottom with hot water. Let it sit for 5–10 minutes.
-
Scrub all surfaces. Work the scrub brush across the bottom, up the sides, and around the rim. Lid undersides, rims, handles, and corners accumulate the most grime and need focused attention. Most complaints about bin odor trace back to these transfer points, not the main barrel.
-
Rinse thoroughly. Flush out all soap residue with the hose. Leftover soap film traps new dirt faster.
-
Disinfect. Wirecutter recommends a two-stage approach: clean first with warm soapy water, then apply a 1:1 vinegar-water mix or a CDC-approved bleach solution. Disinfectants only work after visible dirt is removed. Spraying a dirty bin with disinfectant skips the step that actually makes it effective.
-
Deodorize. Sprinkle baking soda across the inside bottom, or spray diluted white vinegar and let it air out for a few minutes before the final rinse.
-
Dry completely. Dry bins fully by propping the lid open and leaving the bin upside down or on its side in the sun. Returning a wet bin to storage accelerates odor development and grime buildup faster than almost any other mistake.
Pro Tip: Clean your bins on a sunny day. Sunlight acts as a natural disinfectant and speeds up drying significantly.
| Cleaning stage | Product to use | Purpose |
|---|---|---|
| Rinse | Garden hose | Remove loose debris |
| Scrub | Dish soap + hot water | Break down grease and residue |
| Disinfect | Vinegar solution or bleach | Kill bacteria and sanitize |
| Deodorize | Baking soda or vinegar | Absorb and neutralize odors |
| Dry | Sun and open air | Prevent moisture-driven odor return |
Where and how should you store bins to improve curb appeal?
Storage location and habits matter more for garbage can hygiene and street-facing appearance than most homeowners realize. Bin zone aesthetics depend more on storage behavior than on stronger cleaning chemicals. A spotless bin left on the curb for two days still looks bad.
Storage best practices:
- Bring bins in promptly after collection. Bins left on the curb or at the end of the driveway signal neglect to neighbors and passersby. Returning bins to their storage spot after pickup is one of the simplest curb appeal tips you can act on today.
- Keep bins out of direct sunlight. Storing bins in shaded areas slows decomposition of any residue inside and reduces odor intensity between cleanings.
- Place bins against a wall or fence. This prevents tipping in wind and keeps the bin area looking organized. A tipped bin spills residue and creates a mess that takes far longer to clean than the original storage task.
- Use a well-drained surface. Standing water under bins creates mold and amplifies odors. Concrete or gravel works better than grass or soil.
- Keep lids fully closed at all times. Fully closed lids block flies, rodents, and odors. An open or cracked lid is the single biggest invitation for pests.
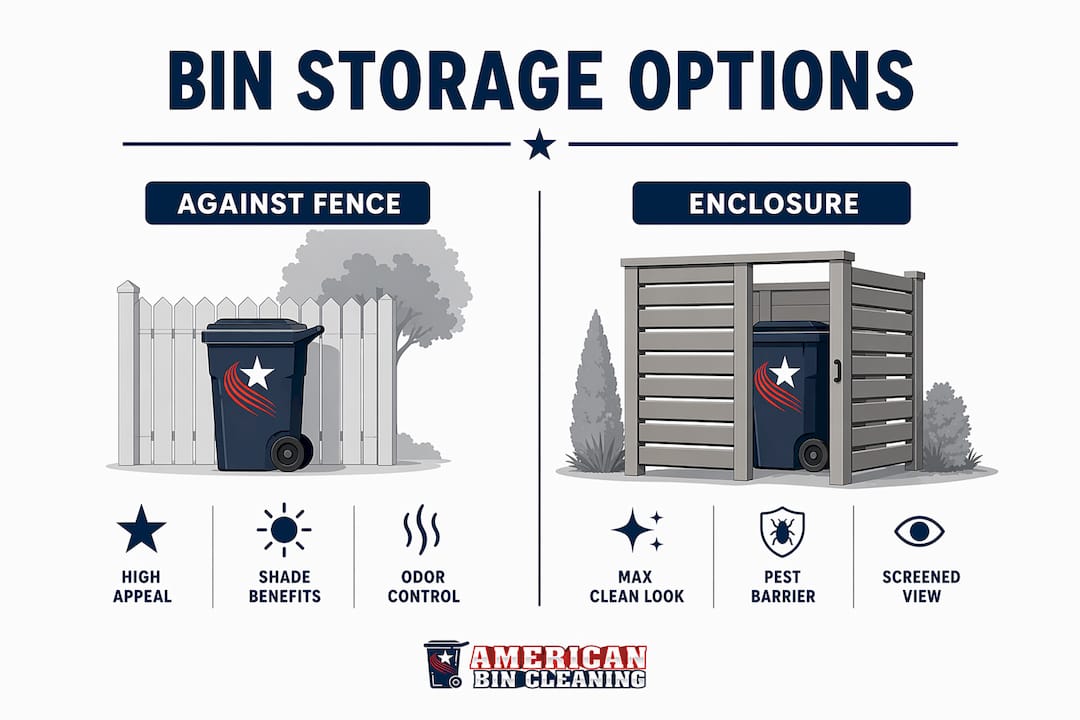
| Storage option | Curb appeal impact | Pest and odor control |
|---|---|---|
| Against fence, shaded | High. Bins hidden from street view | Strong. Shade slows decomposition |
| Open driveway, full sun | Low. Bins visible and discolored faster | Weak. Heat speeds up odor development |
| Bin enclosure or screen | Highest. Bins fully concealed | Strong. Enclosed lids stay shut |
| Curbside, lid open | None. Actively harms appearance | None. Open to pests and weather |
For homeowners who want the cleanest look possible, a wooden or metal bin enclosure screens the bins entirely from street view. These structures are available at most home improvement stores and can be built to match your fence or siding.
How often should you clean bins, and how do you fix common problems?
Washing outdoor bins every 4–6 weeks with a quick rinse after each pickup keeps odors from building up between deep cleans. A consistent schedule prevents bins from becoming heavily soiled, which means each cleaning takes less time and effort.
Follow this maintenance schedule:
- After every pickup: Rinse the inside with the hose for 60 seconds. This removes fresh residue before it dries.
- Every 4–6 weeks: Run the full cleaning process described above, including scrubbing, disinfecting, and drying.
- After any spill or overflow: Clean immediately. Waiting turns a minor mess into a stubborn stain.
- Before summer: Do a deep clean before warm weather arrives. Heat accelerates bacterial growth and odor production inside bins.
Solving common problems:
Persistent odors after cleaning. The cause is almost always moisture. Either the bin was stored wet, or residue remains in the corners and lid hinge. Re-clean with focused scrubbing on those areas, then dry completely before closing.
Pests returning repeatedly. Secure, fully closed lids are the most effective barrier against flies and rodents. If your lid doesn’t seal tightly, replace it or use a bungee cord to hold it shut between pickups.
Staining that won’t scrub out. Try a paste of baking soda and a small amount of dish soap applied directly to the stain. Let it sit for 10 minutes before scrubbing. For very stubborn stains, a diluted bleach solution applied with a brush usually works.
Not enough time for regular cleaning. Tying bags tightly before placing them in the bin and rinsing food containers before disposal reduces residue dramatically. These two habits alone cut cleaning frequency in half for most homeowners. When DIY cleaning becomes genuinely unmanageable, professional bin cleaning is a practical alternative worth considering.
Pro Tip: Place a dryer sheet or a small sachet of baking soda at the bottom of the bin under the bag. Both absorb moisture and keep odors from building between cleanings.
Key Takeaways
Keeping garbage bins clean for curb appeal requires a consistent routine covering cleaning, disinfecting, drying, and smart storage, not just occasional scrubbing.
| Point | Details |
|---|---|
| Clean every 4–6 weeks | Regular deep cleans prevent heavy buildup and reduce the effort each session requires. |
| Dry completely before storing | Storing a wet bin is the fastest way to undo a good cleaning and restart odor buildup. |
| Keep lids fully closed | Closed lids block pests and odors, which are the two biggest threats to a tidy bin area. |
| Store in shade, against a wall | Shaded, sheltered placement slows decomposition and keeps bins from tipping or discoloring. |
| Disinfect after scrubbing | Disinfectants only work on clean surfaces, so scrubbing first is not optional. |
What I’ve learned after years of watching homeowners get this wrong
Most homeowners treat bin cleaning as a last resort, something they do only when the smell becomes impossible to ignore. That approach guarantees the job is always harder than it needs to be.
The insight that changed how I think about this is simple: the bin area is the first thing a visitor or buyer notices when they pull up to your home. A clean front door and trimmed lawn lose their impact when there’s a stained, odor-producing trash can sitting three feet away. The visual and hygienic payoff from a 20-minute monthly routine is completely disproportionate to the effort.
The other mistake I see constantly is skipping the drying step. Homeowners scrub thoroughly, rinse well, and then close the lid and roll the bin back to its spot while it’s still wet inside. Within 48 hours, the odor is back and they assume the cleaning didn’t work. The cleaning worked. The storage undid it.
My honest advice: start with just two habits. Rinse the bin after every pickup, and always let it dry open before storing. Those two steps alone will keep your bin area looking and smelling better than 90% of your neighbors’ setups. Add the monthly deep clean when you’re ready, and the results speak for themselves.
— Jim
Professional bin cleaning for Chicagoland homeowners
For homeowners who want consistently clean bins without the time commitment, Abcbins offers professional trash bin cleaning throughout Chicagoland.
Abcbins has been family owned since 1989 and uses a high-pressure, eco-friendly cleaning process that kills 99.99% of bacteria while eliminating odors and blocking pests. All wastewater is captured on board, so nothing runs off into your yard or the street. Service plans run monthly, bi-monthly, quarterly, or on-demand, and you don’t need to be home for the service to happen. Homeowners in Barrington can check out local bin cleaning options, and those weighing the time and cost of doing it themselves can read the DIY vs. professional cost breakdown before deciding.
FAQ
How often should I clean my outdoor garbage bins?
Wash bins every 4–6 weeks with a quick rinse after each pickup to prevent odor buildup between deep cleans.
What is the best way to get rid of bin odors?
Scrub with dish soap, then apply a 1:1 vinegar-water solution or a bleach-based disinfectant. Sprinkle baking soda inside after drying to absorb moisture between cleanings.
Why do my bins still smell after I clean them?
The most common cause is storing the bin while it’s still wet. Dry bins completely with the lid propped open before returning them to storage.
How do I keep pests out of my garbage cans?
Fully closed lids are the most effective barrier against flies and rodents. If your lid doesn’t seal tightly, use a bungee cord or replace the lid.
Does bin placement really affect curb appeal?
Yes. Bins left on the curb after pickup or stored in full sun visibly degrade your home’s exterior appearance. Returning bins to a shaded, sheltered spot immediately after collection is one of the simplest curb appeal improvements available.