The fastest way to kill trash can odor is to empty the bin completely, scrub away the residue clinging to the walls and rim, disinfect the interior, then let it dry completely in the sun before adding an absorber like baking soda or activated charcoal. Skipping the drying step is the single biggest reason smells come right back. If the odor returns within days despite regular cleaning, or you’re dealing with maggots or a persistent ammonia smell, that’s your sign to call a professional bin cleaning service instead of fighting it yourself.
TL;DR:
- Proper trash can cleaning requires thorough drying in sunlight to prevent bacteria regrowth and odor recurrence, especially after scrubbing and disinfecting.
- Using absorptive deodorizers like baking soda or activated charcoal helps manage ambient smells between deep cleans, but only if replaced regularly.
- Deep cleaning every one to two months, along with proper bag sealing and container rinsing, minimizes moisture buildup and reduces odor triggers.
- Outdoor cans in summer need more frequent cleaning and measures like draining rainwater, securing lids, and freezing smelly scraps to combat heat-related odor increase.
- Professional bin cleaning services use high-pressure hot water and capture wastewater, effectively removing biofilm and odors when DIY methods fail or pests are present.
Table of Contents
- How Do You Deep Clean a Trash Can to Remove Odor?
- What’s the Best Trash Can Deodorizer to Use Between Cleanings?
- How Often Should You Clean Your Trash Cans to Prevent Odors?
- Why Does My Outdoor Trash Can Smell Worse in Summer?
- When Should You Call a Professional Bin Cleaning Service?
- What We See Most Often on Service Calls
- How American Bin Cleaning Handles Odor for You
- Sources
How Do You Deep Clean a Trash Can to Remove Odor?
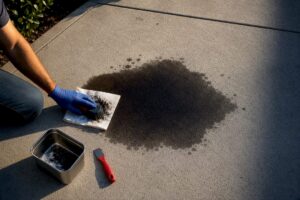
Odor doesn’t come from the trash itself. It comes from the sludge that trash leaves behind: grease, rotting food juice, and the bacterial film that forms on plastic once that residue sits for a few days. A dry, empty can shouldn’t smell. If yours does, something is coating the inside that a quick rinse hasn’t touched.
Here’s the process that actually breaks that cycle.
- Empty and drain completely. Tip the can over on a paved surface, driveway, or patio, never on grass or near a storm drain, and let any standing liquid run out fully.
- Rinse first. Hose down the interior before applying any cleaner. This knocks loose debris off the walls so your cleaning solution isn’t fighting through a layer of grime.
- Apply cleaner and let it sit. Whether you’re using dish soap, a degreasing spray, or a diluted disinfectant, give it 5 to 10 minutes of contact time before scrubbing. That dwell time is what loosens dried-on gunk instead of just smearing it around.
- Scrub every surface, not just the floor. The rim, the underside of the lid, the hinges, and the seams where the walls meet the base are where residue hides longest. A stiff-bristle brush or a long-handled scrub brush works better than a sponge here.
- Disinfect after the mechanical scrub, not before. Mechanically removing the biofilm matters because sanitizer poured over a crusted organic layer barely reaches the bacteria underneath it. Once the surface is physically clean, a diluted bleach solution (roughly a quarter cup of bleach per gallon of water) or a commercial disinfectant will actually do its job.
- Rinse thoroughly. Every trace of soap or bleach needs to come off, or you’ll trade one smell for a chemical one.
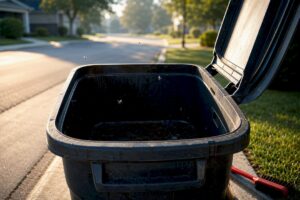
- Dry completely, ideally in direct sun. Flip the can upside down or prop the lid open and let it air out for a few hours. Sunlight both dries the surface and helps disinfect it, and drying is what actually stops bacteria from regrowing. A damp can, even a clean one, is an invitation for the smell to come right back within a day or two.
Pro Tip: Never mix bleach with vinegar or ammonia-based cleaners. The combination produces toxic chlorine gas, and it’s a common mistake when people try to “boost” a cleaning solution. Stick with one active ingredient at a time, and always rinse it fully before applying anything else.
Skipping step 7 is the most common reason people think their cleaning “didn’t work.” It worked. The can just never got the chance to dry, and bacteria don’t need much moisture to start colonizing plastic again.
What’s the Best Trash Can Deodorizer to Use Between Cleanings?
Deodorizers fall into two camps: things that absorb odor molecules and things that mask them. Only one of those categories actually reduces the smell instead of covering it up, and knowing the difference saves you money on products that just add a fake pine scent on top of garbage funk.
Absorption-based options work by pulling odor molecules out of the air and trapping them:
- Baking soda in a shallow dish or a loose sachet at the bottom of the can, refreshed regularly.
- Activated charcoal sachets, which tend to outlast baking soda in humid conditions and work well in kitchen bins.
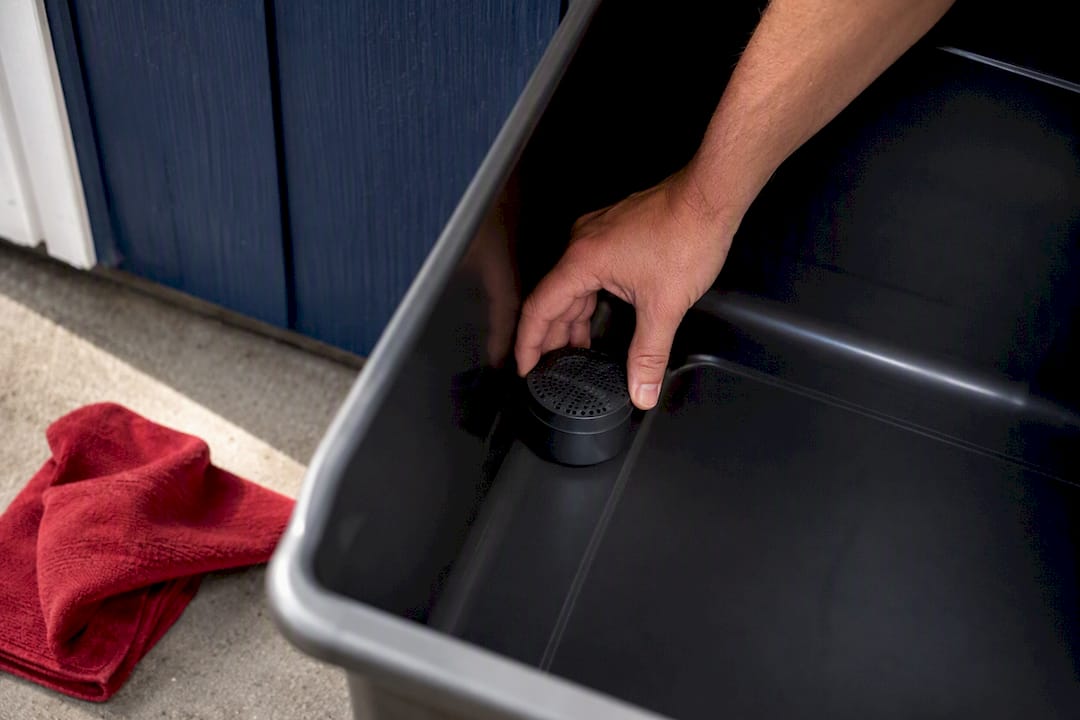
- Adhesive deodorizer pods stuck to the inside of the lid, convenient for outdoor cans since they don’t tip over.
Neutralizing and masking options work differently, and it matters which one you’re using:
- Vinegar spray (equal parts white vinegar and water) helps break down odor-causing compounds on contact, though it works best as a wipe-down rather than a substitute for scrubbing.
- Essential oil sachets, cotton balls, or paper towels dabbed with tea tree or citrus oil placed near the lid.
- Commercial deodorizer sprays, which mostly mask smell rather than eliminate its source.
Absorbers like baking soda and charcoal are best treated as part of a routine, not a fix on their own. They reduce ambient smell between cleanings, but they can’t dissolve dried grease or kill the bacteria producing the odor in the first place. If you’re refreshing your baking soda every few weeks and the smell still creeps back within days, that’s a sign of buildup, not a weak deodorizer.
Most absorbers need replacing on a fairly predictable schedule, with more frequent changes in hot or humid weather when bacterial activity increases. Pods and adhesive deodorizers typically list their own replacement window on the packaging, usually 30 to 60 days.
How Often Should You Clean Your Trash Cans to Prevent Odors?
Prevention is cheaper than cleanup, and most of it comes down to controlling moisture before it ever hits the bin. Moisture, leaks, and poor airflow are the primary drivers behind smelly trash cans, which means the habits that matter most happen before the bag even goes in the can.
- Tie bags tightly and double-bag anything wet, like meat packaging or leftover liquids, before it goes in.
- Rinse food containers (yogurt cups, cans, takeout boxes) before tossing them, especially if they’ll sit for a few days before pickup.
- Line the bottom of the can with newspaper or a thin layer of unused cat litter between deep cleans to catch stray drips.
- Wipe the lid and rim with a disinfecting wipe each time you swap bags. It takes 20 seconds and prevents residue from building up in the first place.
- Clean indoor kitchen bins regularly and outdoor cans more frequently, especially in warmer months when bacterial growth accelerates.
- Choose thicker, leak-resistant bags and a can with a smooth interior. Cheap, scratched, or microcracked plastic holds onto grime that no amount of scrubbing fully removes.
A resource like our guide on practical ways to reduce trash can smell walks through more of these small habits if you want the full list.
Why Does My Outdoor Trash Can Smell Worse in Summer?
Outdoor bins face problems indoor cans don’t: rain pooling in the base, direct sun cooking whatever’s inside, and animals treating an unsecured lid as an invitation. Heat accelerates everything. Bacteria that would take a week to build up noticeable odor indoors can do it in two or three days outside during a heat wave.
- After rain, tilt the can to drain standing water rather than letting it sit and stew with whatever’s at the bottom.
- Use heavy-duty bags and make sure lids latch or clip securely to keep raccoons and stray dogs from tearing bags open and scattering waste.
- Freeze particularly smelly scraps, like fish or meat trimmings, until pickup day if your collection schedule is more than a couple of days out.
- Bump cleaning frequency to every one to two weeks during summer months instead of the usual monthly rhythm.
- Skip loose plastic liners in outdoor cans meant for mechanical pickup; many municipal trucks are built to grip the can itself, and loose liners can jam the process.
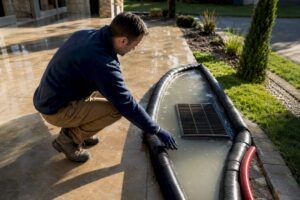
- Never let rinse water or cleaning runoff drain into a lawn, storm drain, or gutter. Direct it onto a paved surface, or better yet, use a service that captures wastewater instead of letting it run off.
When Should You Call a Professional Bin Cleaning Service?
DIY cleaning solves most odor problems, but not all of them. Some situations call for equipment and processes a garden hose and a scrub brush simply can’t match.
Watch for these red flags:
- A lingering ammonia-like smell that returns within a day or two of cleaning, which often signals bacteria embedded deep in scratches or seams.
- Visible maggots or fly activity, which means organic residue has been sitting long enough to attract egg-laying insects.
- A biofilm layer that feels slick or slightly sticky even after scrubbing, a sign the buildup has outpaced what manual cleaning can remove.
- Cracks or rough patches in the plastic where bacteria can lodge below the surface and resist standard cleaning entirely.
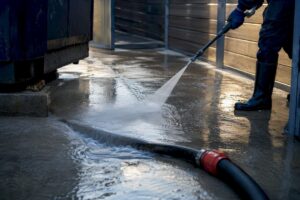
Professional services typically use hot, high-pressure water rather than a garden hose, paired with commercial-grade sanitizing agents that reach into seams and hinges a scrub brush can’t fully access. Recurring plans (monthly, bi-monthly, or quarterly) keep bacterial buildup from ever reaching the point of visible odor or pest attraction in the first place, and sanitized bins simply attract fewer flies and rodents than ones treated with air freshener alone.
Pro Tip: Before booking any bin cleaning service, ask three questions: does it capture and recycle its wastewater instead of letting it run into your yard or the street, what water temperature does it use, and what’s the cleaning frequency on its plans? The answers tell you a lot about whether you’re paying for a real deep clean or a quick rinse.
If you’re weighing whether the cost is worth it against doing it yourself, this breakdown of DIY versus professional cleaning costs lays out the trade-offs in plain terms.
What We See Most Often on Service Calls
The single biggest mistake homeowners make isn’t skipping cleaning altogether. It’s cleaning the outside and calling it done, or spraying deodorizer over a can that’s still damp from the last rinse. Moisture trapped under a fresh coat of “clean scent” spray just gives bacteria a head start with less resistance.
The second most common mistake is waiting for the smell to get bad before doing anything. By the time a can smells noticeable from ten feet away, biofilm has usually had weeks to build up, and a single scrub often won’t fully remove it.
At American Bin Cleaning, our process runs hot, high-pressure water through every can we service, and every drop of wastewater gets captured in an on-board recycling system rather than draining onto driveways or lawns. That closed-loop approach is part of why recurring plans work better than one-off deep cleans: bacteria never get the chance to establish a foothold between visits.
— Jim
How American Bin Cleaning Handles Odor for You
If scrubbing bins on a schedule isn’t how you want to spend a weekend, American Bin Cleaning runs the entire deep-clean process for you, curbside, without you needing to be home. Every visit uses hot, high-pressure water and eco-friendly detergents strong enough to break down the biofilm that causes lingering odor, and every drop of wastewater is captured on board rather than dumped into your yard or the street.
Service plans run monthly, bi-monthly, quarterly, or on-demand, so you can match the frequency to how fast your household fills a bin or how hot the summer gets. Booking takes a few minutes: pick a plan, choose a schedule, and we handle pickup day the same way you already do, just with a sanitized can waiting for you afterward instead of a smelly one. If you’re in the Barrington area, you can check availability and book curbside bin cleaning directly through our site and get a fresh, deodorized can on your next scheduled visit.
Sources
For deeper detail on the mechanics behind smelly bins, HGTV’s guide to cleaning and deodorizing trash cans covers the drying step in more depth, The Spruce explains why moisture keeps bins smelling even after the trash is gone, and Family Handyman’s stinky garbage can fixes break down deodorizer options and replacement timing in practical detail.
- How to clean and deodorize your trash can | HGTV
- Why trash cans smell even after taking the trash out | The Spruce
- How to fix a stinky garbage can | Family Handyman